Hey there, fellow e-commerce enthusiasts! So you've decided to dive into the wonderful world of Shopify and start selling your amazing products. But wait, how the heck do you actually add and manage those products on this nifty platform? Fear not, my friends, because I'm here to take you on a hilarious and step-by-step journey through the ins and outs of mastering product addition and management on Shopify.
Step 1: The Grand Entrance - Logging into Shopify
First things first, you gotta find your way into the magical land of Shopify. It's like finding the secret entrance to a treasure chest. You type in your username and password, and if you forget them, well, it's like trying to remember the combination to a lock that you swear you knew just a second ago. But once you finally get in, it's like stepping into a whole new universe of possibilities.
And don't get all flustered if it takes you a couple of tries. I once spent a good five minutes convinced I'd forgotten my password when it turns out I just had the caps lock on. Yeah, that was a moment of pure genius right there. But anyway, once you're logged in, you're ready to start the product party!
Step 2: Navigating the Shopify Backend - It's Like a Maze, But a Fun One!
Now, the Shopify backend can look a bit intimidating at first. It's like being in a big, shiny new city where you don't quite know where all the cool places are yet. But don't worry, we'll figure it out together.
Look for that "Products" tab. It's usually hanging out there on the left-hand side, just waiting for you to click on it. If you can't find it right away, it's not like it's playing hide and seek with you (although it might feel that way). Just take a deep breath and scan the menu again. And if you still can't find it, well, maybe it's time for a coffee break and then come back with fresh eyes.
Once you've found the "Products" tab and clicked on it, you'll be greeted with a whole bunch of options. It's like opening a box of chocolates and not knowing which one to pick first. But we'll get to those options in a bit. For now, just enjoy the fact that you've made it this far without getting too lost in the Shopify jungle.
Step 3: Adding a Product - The Birth of a New Star in Your Store!
Okay, now it's time to bring your product to life on Shopify. Click on that "Add product" button. It's like pushing the big red button that launches a rocket (well, sort of). A new page will pop up, and this is where the real fun begins.
First up, you gotta give your product a name. Make it catchy! Don't just call it "Thingamajig." Maybe something like "The Super Awesome Thingamajig that Will Change Your Life." Okay, that might be a bit over the top, but you get the idea. You want people to be intrigued when they see the name.
Next, the description. This is your chance to really sell your product. Don't be shy! Write about how amazing it is, what problems it solves, and why everyone needs it in their lives. It's like you're telling a story, and your product is the hero. But don't go on and on for pages. Keep it concise and engaging. Remember, people have short attention spans online, so you gotta hook 'em quick.
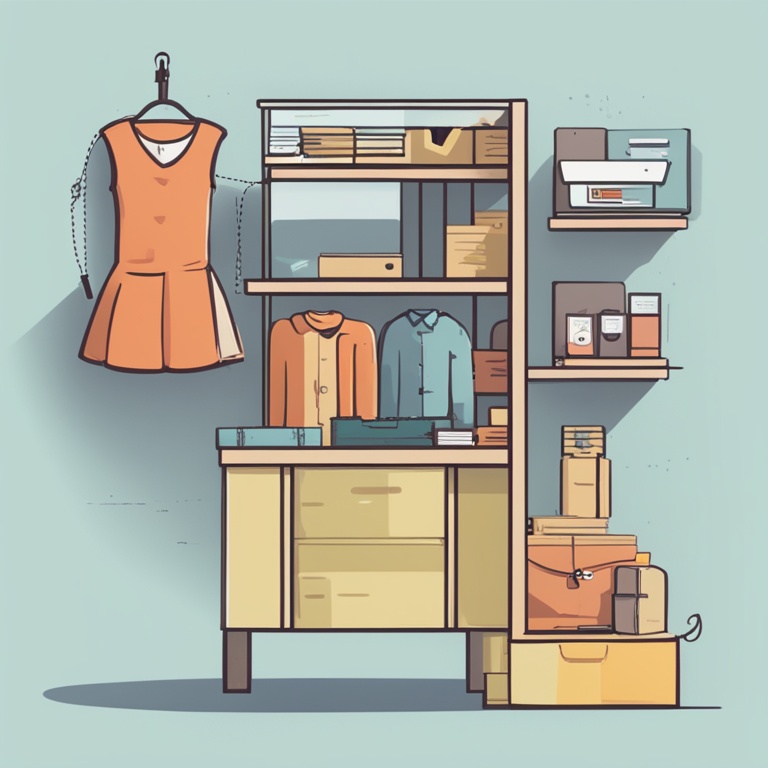
Now, the images. Oh boy, the images are crucial! You want to show off your product in the best possible light. Take some great photos or use high-quality graphics. Don't use blurry pictures that look like they were taken in a cave by a drunk mole. Make sure the images are clear, bright, and show all the details of your product. Because let's face it, we all judge a book by its cover, and in the online shopping world, the images are the cover.
And don't forget about the price! Set a price that's fair but also profitable for you. You don't want to sell your product for a penny and end up broke, but you also don't want to price it so high that no one will buy it. It's a delicate balance, like walking on a tightrope. Maybe do some market research to see what similar products are priced at, and then find that sweet spot for your own offering.
Step 4: Product Variants - Because One Size Doesn't Always Fit All!
Your product might come in different sizes, colors, or flavors. That's where product variants come in. It's like having a whole family of products instead of just one lonely kid.
To add variants, look for the option on the product page. It might be a little button that says "Add variant" or something similar. Click on it, and you'll be able to set up different options for your product.
Let's say you're selling t-shirts. You can have variants for different sizes like small, medium, large, and extra-large. And maybe different colors too, like black, white, red, and blue. You can even add custom options if you want, like adding a special logo or design to certain variants.
But be careful when setting up variants. Make sure you have all the right combinations and that the prices are set correctly for each variant. You don't want to accidentally sell a large red t-shirt for the price of a small white one. That would be a bit of a mess and might leave your customers scratching their heads (and not in a good way).
Step 5: Inventory Management - Keeping Track of Your Product Army!
Now that you've got your products all set up, you need to keep track of how many you have in stock. Inventory management is like being the general of your product army. You need to know where your troops are (in stock) and when you need to send in reinforcements (restock).
On the product page in Shopify, there's an area for inventory management. You can set the initial quantity of each product you have in stock. And as you make sales, Shopify will automatically update the inventory count for you. But don't just rely on that. It's always a good idea to do a manual check every now and then to make sure everything is accurate.
You can also set up low inventory alerts. So when the number of a particular product in stock gets low, you'll get a notification. It's like having a little alarm bell that goes off when your troops are running low on supplies. This way, you can restock in time and avoid disappointing your customers by running out of stock.
And if you have multiple locations where you store your products, Shopify can handle that too. You can set up different inventory levels for each location. It's like having different bases for your product army, and you need to manage the troops in each base carefully.
Step 6: Product Categories and Tags - Organizing Your Product Zoo!
Your store is going to have a whole bunch of products, and you need to organize them in a way that makes sense. That's where product categories and tags come in. It's like creating different habitats for the animals in your product zoo.
First, create some product categories. For example, if you're selling clothing, you might have categories like "T-shirts", "Pants", "Dresses", etc. These categories will help your customers find what they're looking for more easily. They can click on the category they're interested in and see all the related products.
Then, add tags to your products. Tags are like little labels that you can put on your products to further classify them. For example, if you're selling a red t-shirt, you might tag it with "Red", "T-shirt", "Clothing", etc. Tags help with searchability. When a customer searches for "Red clothing", your red t-shirt will be more likely to show up if it has the right tags.
But don't go overboard with the tags. You don't want to tag every single little thing about your product. Keep it simple and relevant. And make sure the categories and tags are consistent across all your products. If you have one product tagged as "Shirt" and another as "Tee", it might get confusing for your customers.
Step 7: Product Reviews and Ratings - Letting Your Customers Do the Talking!
One of the best ways to build trust with your customers is through product reviews and ratings. It's like having your customers be your brand ambassadors (or your worst critics, depending on how good your product is).
Shopify makes it easy to enable product reviews and ratings. On the product page, there's an option to turn it on. Once you do that, your customers can leave their thoughts, experiences, and ratings about your product.
Now, when you get those reviews, don't be afraid to read them. Even if they're not all positive, they can be a valuable source of feedback. If someone says your product has a problem, you can fix it and make it better. And if someone gives you a great review, well, share it on your social media or website to show off how awesome your product is.
But also be prepared for the occasional mean review. Some people just like to be negative for no reason. Don't let it get you down. Just take it as a challenge to improve your product or your customer service. And remember, most people will be fair and honest in their reviews, so focus on those and use them to grow your business.
Step 8: Product SEO - Making Your Products Shine in the Search Results!
You want your products to be found by as many people as possible, right? That's where product SEO comes in. It's like giving your products a megaphone to shout out to the world about how great they are.
First, make sure your product names are keyword-rich. Use the words that people are likely to search for when looking for your type of product. For example, if you're selling handmade candles, include words like "handmade", "candles", "scented", etc. in the product name.
Next, the description. Use relevant keywords throughout the description as well. But don't keyword stuff. You don't want to make it look like you're just trying to game the system. Write a natural, engaging description that also includes the keywords in a meaningful way.
And don't forget about the images. You can optimize the alt text of the images to include relevant keywords. So if you have a picture of a red candle, the alt text could be "Red scented handmade candle". This helps search engines understand what the image is about and can improve your product's visibility in search results.
Finally, use product tags and categories effectively for SEO. Make sure the names of your categories and tags are also keyword-rich. This way, when people search for related terms, your products will be more likely to show up in the search results. SEO is an ongoing process, so keep tweaking and improving your product's SEO over time.
Step 9: Updating and Editing Products - Because Nothing's Perfect the First Time!
Your products might need some tweaking over time. Maybe you found a better way to describe them, or you got some new images, or you want to change the price. That's all okay. Shopify makes it easy to update and edit your products.
Just go back to the product page in the Shopify backend. There's an option to edit the product. Click on it, and you'll be able to make all the changes you need.
When you update a product, make sure you test it out. Check the product page to see if everything looks good. Make sure the images are displaying correctly, the description is clear, and the price is set correctly. You don't want to accidentally mess up something when you're trying to improve it.
And if you're making major changes, like changing the product name or completely reworking the description, it might be a good idea to let your customers know. You can send out an email or post a notice on your website or social media. This way, they won't be confused when they come back to buy the product again.
Step 10: Product Deletion - Sometimes You Gotta Say Goodbye!
There might come a time when you need to say goodbye to a product. Maybe it's not selling well, or you've discontinued it for some other reason. Whatever the case, Shopify makes it easy to delete a product.
Go to the product page in the Shopify backend. There's an option to delete the product. But be careful! Once you delete a product, it's gone forever (well, unless you have a backup somewhere). So make sure you really want to get rid of it before you click that delete button.
If you're deleting a product because it's not selling well, it might be a good idea to analyze why it didn't sell. Maybe the price was too high, or the marketing wasn't good enough, or the product just wasn't what people were looking for. Use that knowledge to improve your future product offerings.
And there you have it, folks! A step-by-step guide to mastering product addition and management on Shopify. It might seem a bit overwhelming at first, but with a little practice and a lot of humor (because let's face it, e-commerce can be a crazy ride), you'll be a pro in no time. Now go forth and make your Shopify store amazing!